Since Windows 10 Insider Build 14986 Microsoft has started to use new Unified Update Platform(UUP), which no longer offers the install.esd file (read more in this post). Through some registry modifications users can at least for now disable UUP and get ESD version of the build upgrade, but it seems that this option might not be available in the future.
UUP is of course a positive change. It is differential, scanning user’s existing Windows 10 installation only downloading and installing those system files that have changed. In ESD upgrade full Windows system (all system files and native applications) were replaced, with the same file or app version even in case the new build did not include a newer updated version. Regardless if a system file, component or application was updated, ESD upgrade replaced it. This caused download size to be bigger, in addition to longer time required for upgrade because full Windows was downloaded and everything overwritten with every upgrade.
However, the possibility to create an ISO image is, has been and will be important to us Insiders. Microsoft has usually released an ISO when a build has been released to Insider Slow Ring, but weFast Ring users do need an option to create our own install media.
This tutorial will show how to do that, how to create an ISO image out of a UUP upgraded Windows 10.

These files will in some cases be removed when upgrade is done. If you want to make an ISO for future needs, you have to do it before starting the upgrade process itself, after downloading the upgrade files but before clicking Restart now button!
1.1) Download and run UUPtoISOSetup.exe (v2.2.1.0):
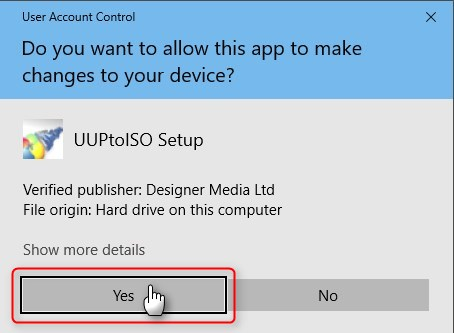
1.2) Installer is digitally signed, accept UAC prompt:
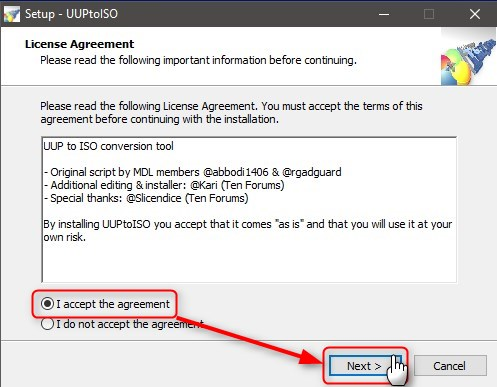
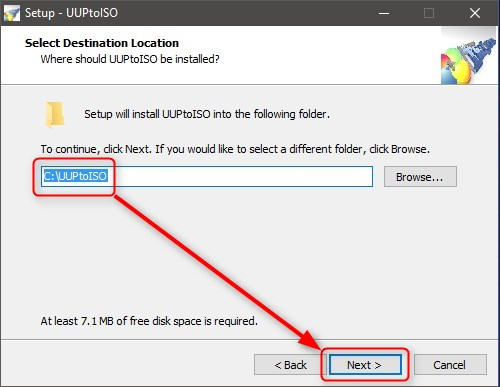
1.3) Accept license, select where to install (default: C.\UUPtoISO):
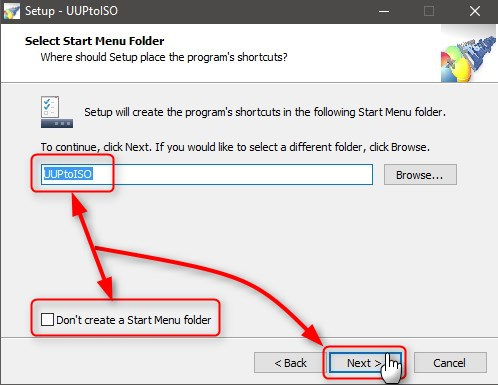
1.4) Select name of Start Menu group (or accept default). If you do not want any Start Menu group being created, selectDon’t create a Start Menu folder:
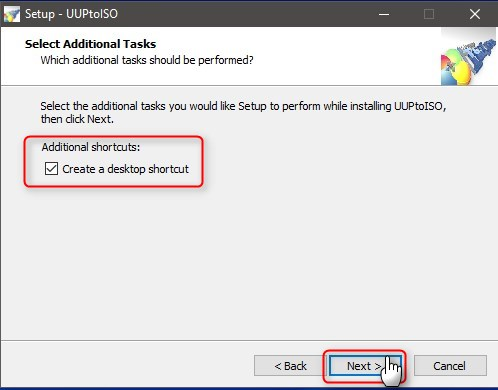
1.5) Select if you want a desktop shortcut or not:
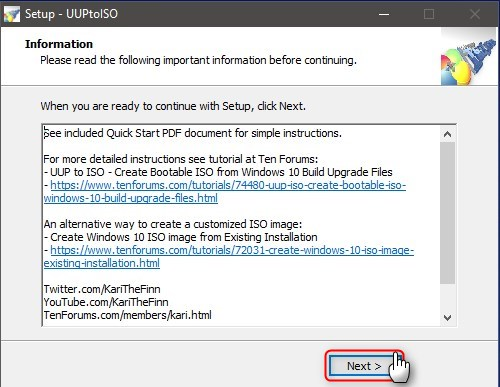
1.6) Click Next to start setup:
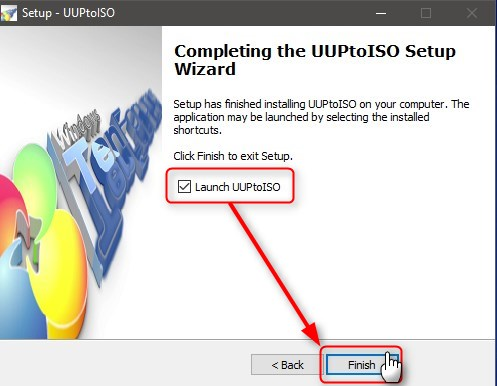
1.7) If you don’t want to run UUPtoISO now, unselect Launch UUPtoISO. Click Finish to exit setup:
1.8) You will find UUPtoISO in Start > U > UUPtoISO. To uninstall go to Settings > Apps, select UUPtoISO, select Uninstall, or right click UUPtoISO in Start Menu and select Uninstall
1.9) See Quick Start.pdf for simple one page printable instructions. It can also be found in folder where you installedUUPtoISO.
2.1) Open File Explorer, browse to C:\Windows\SoftwareDistribution\Download folder. It contains several subfolders named with a long hexadecimal string.
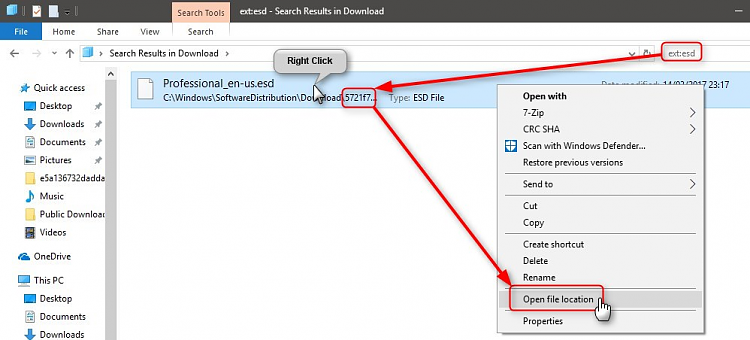
2.2) In File Explorer, search for ext:esd to find all ESD files. Only one of the subfolders ofC:\Windows\SoftwareDistribution\Download contains ESD files (extension .esd). So called express UUP upgrade has only one ESD file, canonical UUP upgrades can have 10+ ESD files. Regardless of how many ESD files your search finds, they are all stored in same subfolder, the one containing necessary files to make an ISO image
Usually upgrades are differential (express) only containing one ESD file as in this example. Search for ESD files finds one file in folder staring with 5721f7. Right click it and select Open file location to open folder we need:
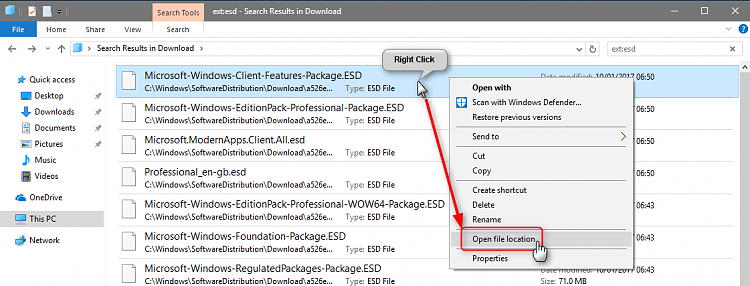
In this example upgrade has been canonical containing 13 ESD files, all in same folder starting with a526e. Right click any of them and select Open file location:
2.3) Right click File Explorer addressbar, select Copy address to copy path of UUP folder to clipboard:

3.1) Run UUPtoISO, right click to automatically paste the UUP folder path copied in step 2.3, press Enter to start. Main menu will be shown:

3.2) In main menu select 1 to make an ISO, select 2 to make an install.wim file, select 3 to see information about which build, edition, bit and language version your upgrade is:

If this happens to you, use the temporarily fix posted in this post.
I will remove this notice when Microsoft has fixed the bug in coming builds.
3.3) The information option (#3) is useful to check that ISO will be what you expect:

Press any key to return to main menu
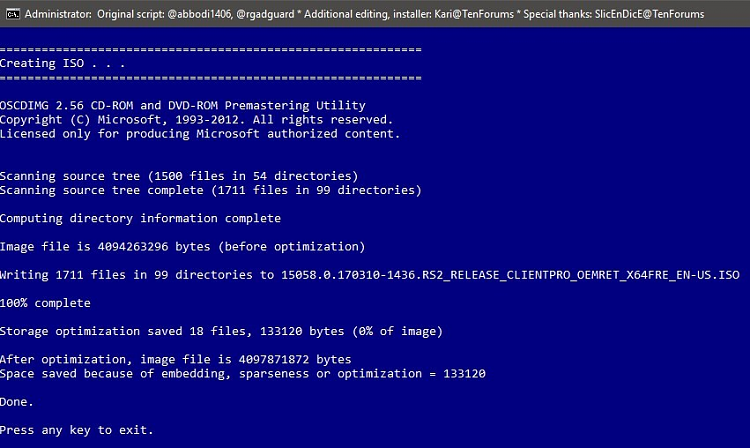
3.4) Press 1 or 2 depending on if you want to make an ISO image or install.wim file, the process starts. Be patient, it will take several minutes
That’s it. You can now start upgrade or repair install using your ISO. To clean install Windows 10, ISO must first be burned to a DVD or USB flash drive (tutorial)
Kari
UUPtoISO Changelog:
All versions using original UUP decrypter script (uup-converter-wimlib-5) by abbodi1406 and rgadguard at MDL.
- Version 1. > Batch file decrypter
- Version 2.0 > Added an installer
- Version 2.1 > Batch compiled to an application (.exe)
- Version 2.2 > Updated installer, shortened code by removing unnecessary elements, corrected some spelling in prompts shown to end user
- Version 2.2.0.1 > Only one minor change, replaced a very pixelated low res Ten Forums logo in installer’s last prompt with a high res image
- Version 2.2.1.0 > Current version, updated 16-MAR-2017. Fixed missing bit architecture in ISO name (x86, x64), added tutorial link to install folder, fixed some more typos
Views: 29


